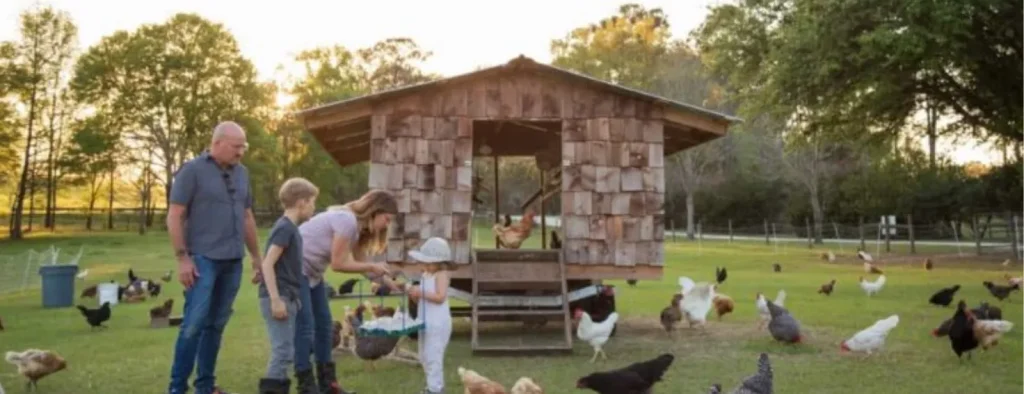
It’s fun to get chickens. Month one sets the pace for the rest of the year. Get the basics down now, and the rest will be easy.
This guide will show you how to:
• A simple daily schedule
• How to tell if your bird is healthy
• When to expect your first eggs
• A 30-day checklist that is clear and easy to print
What to Do Before Day 1
You don’t need expensive equipment. You need simple things that work.
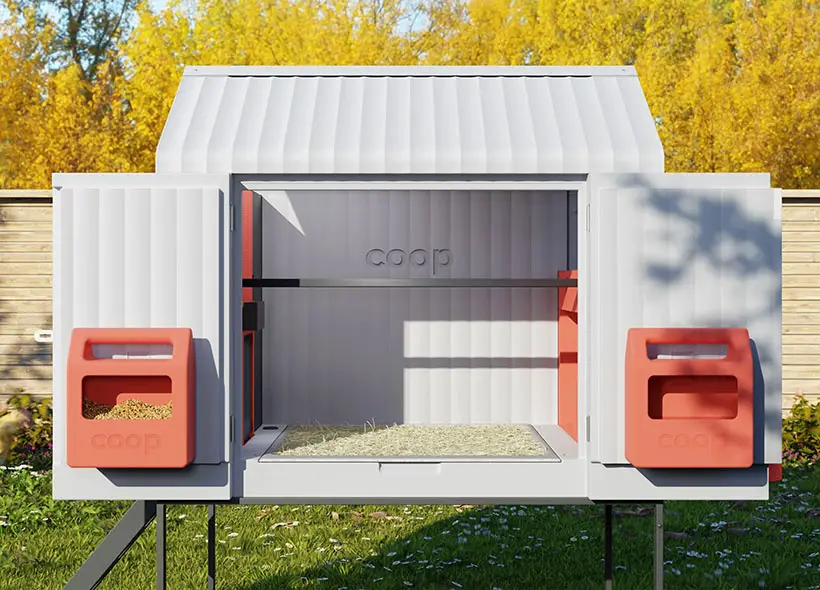
1. Coop + run
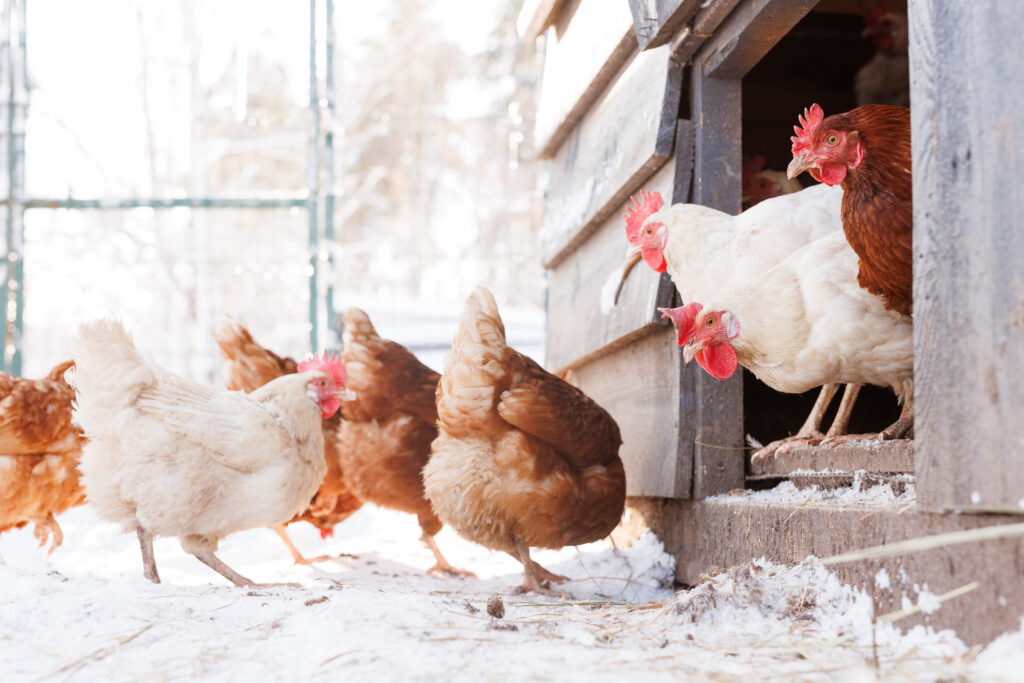
• A dry, draft-free place to live with sufficient airflow
• Doors and latches that keep predators out
• 8–10 inches of roost area for each bird
• One nest box for every 3–4 hens
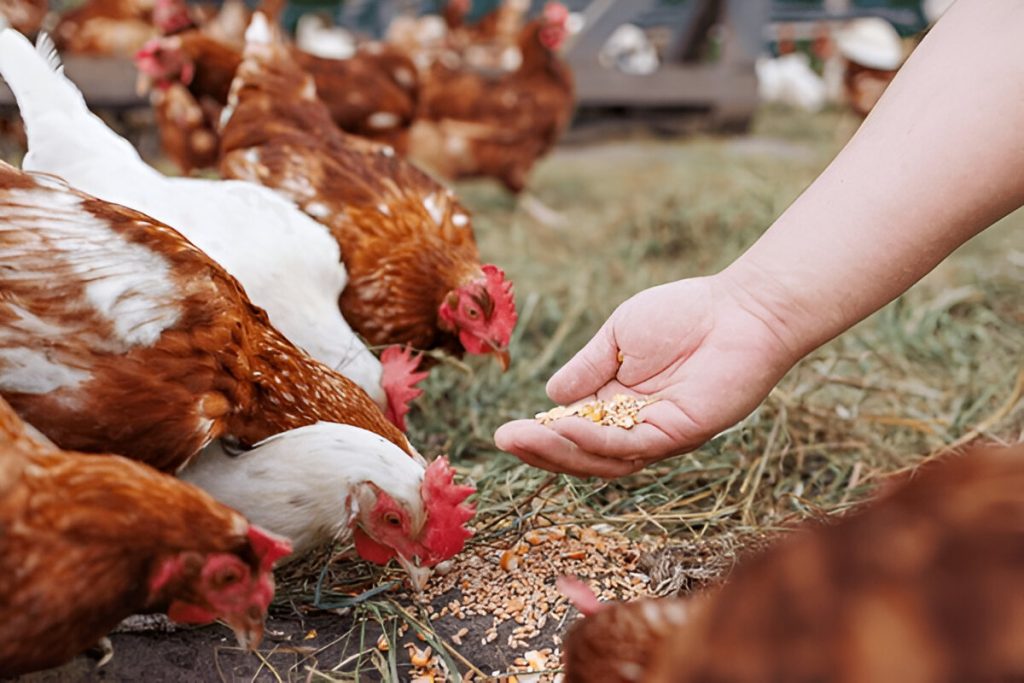
2. Food and water
• Starter/grower feed for pullets that aren’t laying yet
• Layer feed only once laying starts
• Grit for birds on pasture or scraps
• Two waterers, so one is always clean and full
3. Bedding
• Pine shavings, chopped straw, or hemp
• Keep it dry; add more instead of full dumping every day
4. If you’re starting with chicks, you’ll need a
•safe brooder
•a heat source
•a thermometer.
Daily Routine for the First Month (Easy and Repeatable)
You don’t need a schedule for your farm. A rhythm that you can really follow.
5. Morning (5 to 10 minutes)
• Fill up the water again. Chickens drink more than you think.
• Fill the feeder. Try to give each hen around a cup of food every day.
• A visual inspection shows sparkling eyes, clean vents, and active birds.
• Open the pop door and take a brief sniff. If you smell ammonia, you need more air or drier bedding.
6. Touch at noon (1–2 minutes)
• In warm weather, check the shade and water. If it’s hot, put in a second water tank.
• Throw in some greens or a scratch sprinkle to keep them from becoming bored (not in the coop).
7. Night time (5 minutes)
• Count the birds. Is everyone in? Shut and lock up.
• Clean up around the roosts. If the bedding is wet, add a scoop of fresh bedding.
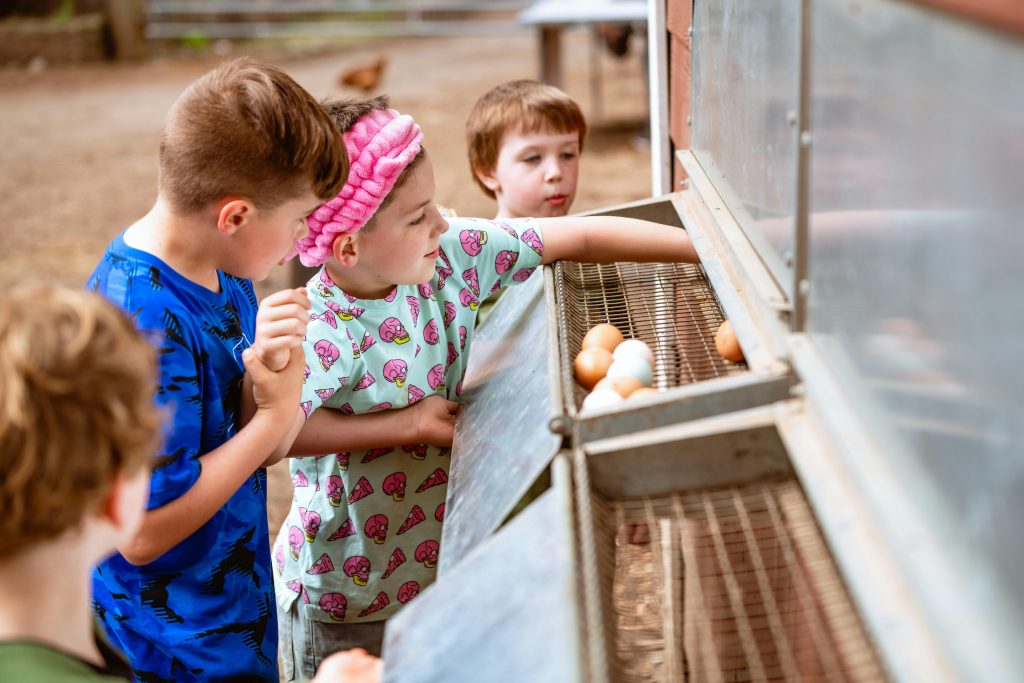
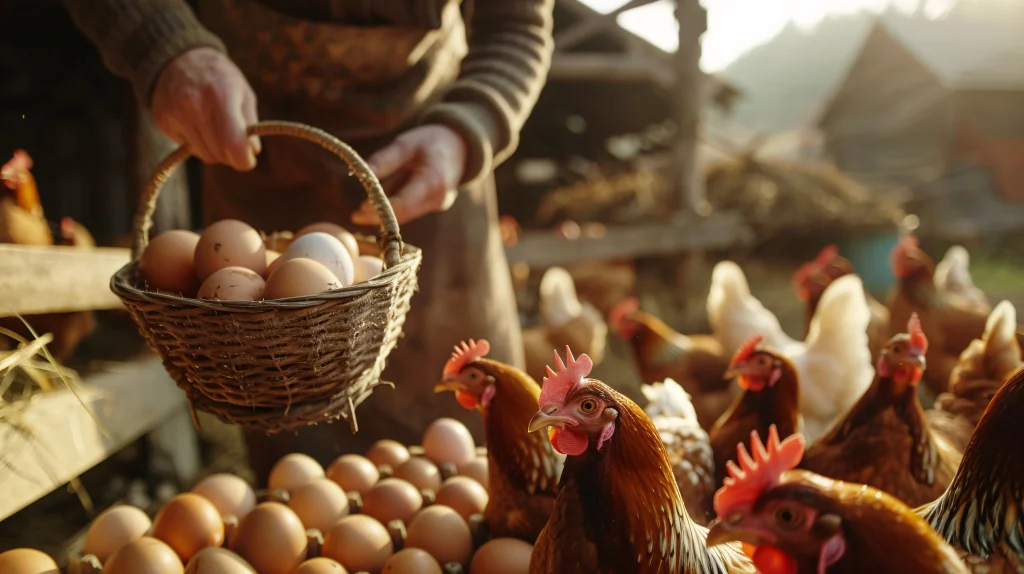
• If your hens are already laying eggs, gather them.
8. Weekly rhythm (20 to 30 minutes)
• Add more bedding or stir it. Take out the wet clumps.
• Clean the waterers and feeders.
• Look at the pop door, latches, and hardware cloth.
• Rake the run to get rid of flies and bad smells.
Pro tip: Set two 10-minute reminders in your calendar every day, one in the morning and one in the evening. Habit is stronger than incentive.
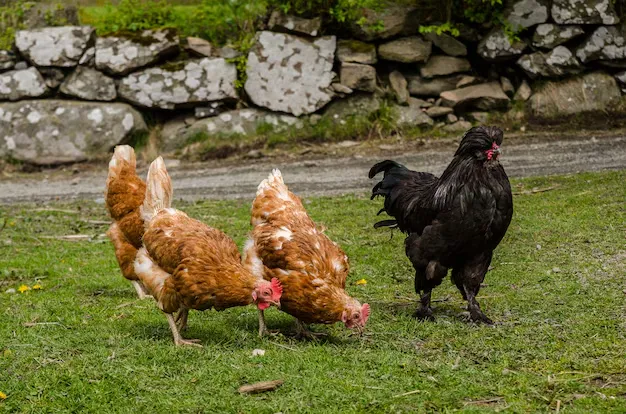
What a Chicken That Is Healthy Looks Like
Learn how to see better in the first week. It’s easier to stop health problems early.
9. Good signs
• Eyes that are bright and alert
• Nostrils that are clean and don’t have any discharge
• Comb and wattles that are smooth and the proper color for the breed and age
• Feathers that are neat and shiny
• A clean vent (no droppings stuck to it)
• normal Droppings: firm brown with a white cap
• A steady gait and an active, curious nature
• Eating and drinking without hesitation
10. Warning signs
• Lethargy, sitting with their head down
• Breathing that is hard or gurgling
• Limping or swelling of foot pads
• Repeated watery green droppings
• Messy vent, strong ammonia smell, or abrupt weight loss
If you notice a red flag, keep the bird alone so you can watch it. In the morning, check the crop (it should be flat). Check the food and water. If you’re not sure, call a vet who knows about birds.
When to Expect Your First Eggs
11. A typical timetable
12. Signs before laying
13. Make it easy for the nest to be successful
14. Food and calcium • Most breeds start laying eggs between 16 and 24 weeks old.
• Some heavy breeds take longer, while some hybrids start early.
• The comb and wattles get redder and fuller.
• The birds squat down when you get close.
• They explore the nest boxes.
• Put fake eggs or golf balls in the boxes to “mark” them.
• Keep the boxes darker than the inside of the coop.
• Use 2–3 inches of soft bedding.
• Collect real eggs every day to stop pecking.
• Keep the pullets on starter/grower feed until the first egg appears.
• Switch to layer feed when laying starts.
• Give the hens a separate cup of crushed oyster shell to eat when they want.
• Don’t rush the switch. Young kidneys can get stressed out if they get too much calcium before laying.
Fixing Problems in Month One (Troubleshooting)
15. They won’t drink.
Clean, cool water wins. Every week, scrub the filth. Put a second waterer at the level of the hen’s head.
16. Pecking or being bored
• More room and stuff to do. Put up a cabbage, add a dust bath (sand, earth, and wood ash), and give the run a perch.
17. Smell of flies
• Moisture. Add dry bedding, patch leaks, and make the air flow better. Rake the run. Think of a thin coating of rough sand that turns into mud.
18. Predators testing the coop
• Add a 12-inch-wide hardware cloth apron to the base. Change to latches that can be locked. Close the feed at night.
19. First eggs with soft shells
• Normal upon starting up. Keep oyster shells on hand and keep stress levels low.
The Checklist You Can Print Out for 30 Days
Please print this off and put it next to the coop.
20. Week 1: Settle and Observe
- Check that the water flows; put in a second waterer
- Feed on time; keep track of how much they eat each day
- Count the birds every night and lock them up
- Look at their eyes, nostrils, vent, and posture
- Check the ventilation: no drafts at roost height, and the air smells clean
- Put fake eggs in the nest boxes if they are close to laying age
21. Week 2: Make the routine more strict
Clean the waterers and feeders well
Stir or top off the bedding and get rid of any wet clumps
Add a dust bath to the run
Walk the fence and latches to find any weak spots
Begin a simple log of eggs and food
22. Week 3: Comfort and Behavior
☐ Check for shade and water in the middle of the day (on hot days)
☐ Add little things like a perch, a hanging reward, or a scratch scatter
Rake the run and fix the muddy spots
Check the nest boxes again: clean, quiet, and welcoming
23. Week 4: Call in for Eggs
☐ Look for crouching and red combs
☐ Keep fake eggs in place
☐ Is this the first egg? When you get your next bag, switch to layer feed
Put an oyster shell in a separate cup
Go over your routine. What feels heavy? Make it easier.
Questions for Beginners
24. How much room do I need?
• For each bird, you should have at least 3–4 square feet within the coop and 8–10 square feet outside the coop. Having more room means fewer problems with conduct.
25. Can I free-range right away?
• Let them learn “home base” in the coop and run for a week. Then watch over short sessions. Lock up at dusk every time.
26. Do I need a rooster to get eggs?
• No. Hens can lay eggs without a rooster. You only need a rooster if you want eggs that can hatch.
What you can do next
Would you like a PDF of the checklist that you can print out on one page? It’s down there.
Want a variation that fits your climate or breed?
A few quick questions for you:
• How many birds do you have to start with, and what kinds are they?
• What is the weather like where you reside this month?